Hello Dev.
on this article i'm able to teach you about Google Recaptcha, Google recaptcha is used to superior threat analysis techniques to reveal human and bots aside. that defends your website from unsolicited mail and abuse. And it make your site more secure.
For this article we are using anhskohbo/no-captcha package. And most essential we need secret key and site key from Google API. So,let's start......
reCAPTCHA
reCAPTCHA is a CAPTCHA system that enables web hosts to distinguish between human and automated access to websites. The original version asked users to decipher hard to read text or match images.
So let's start the lesson...
Step 1: Install Laravel
Type the subsequent command in terminal for create fresh project for your system.
composer create-project --prefer-dist laravel/laravel recaptcha
Step 2: Install anhskohbo/no-captcha Package
After installation of project we need to install anhskohbo/no-captcha package for our demo
composer require anhskohbo/no-captcha
Step 3: Publish Config File
This package is supports the auto-discovery feature of Laravel 5.5+, Type below command to Publish Config File
php artisan vendor:publish --provider="Anhskohbo\NoCaptcha\NoCaptchaServiceProvider"
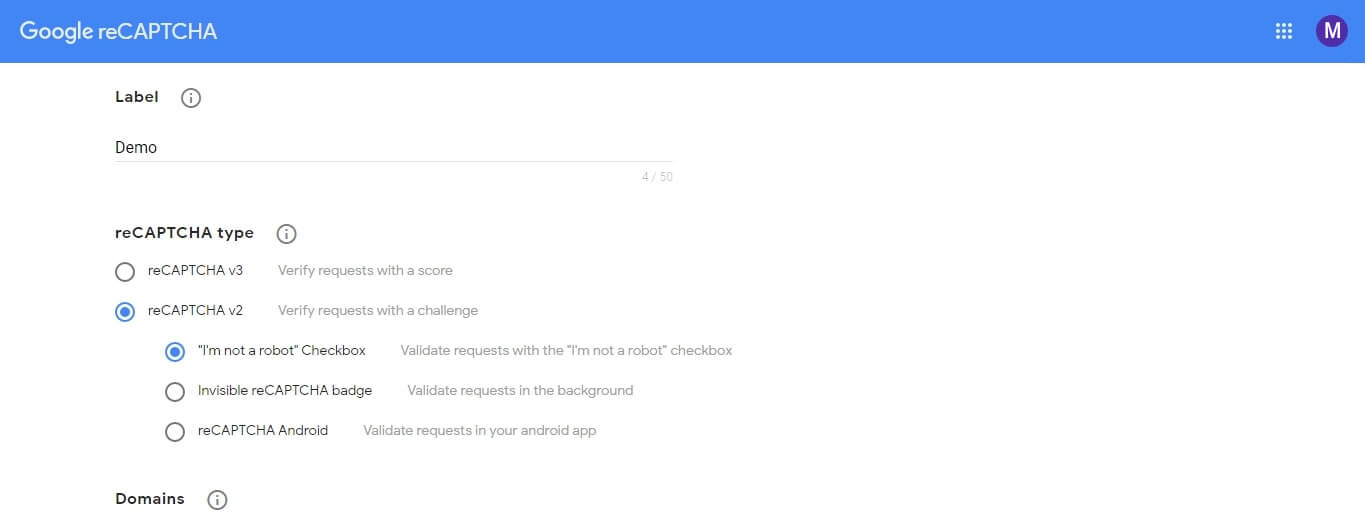
Step 4: Add Google Site Key and Secret Key
After that we need to add Google Site Key and Secret Key in .env file, if you don't have this keys then you need to create from google's website
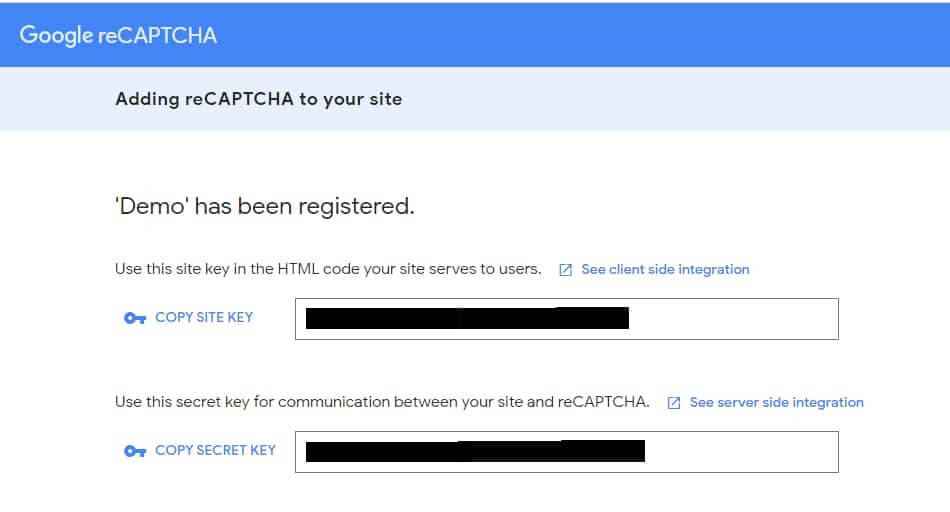
After that open .env file and add these keys.
NOCAPTCHA_SECRET=XXXXXX
NOCAPTCHA_SITEKEY=XXXXX
Step 5: Create Controller
Now create controller on this path app\Http\Controllers\UserController.php and add below command.
And also we put validation for fields and capcha ,if anyone are failed then it'll display blunders messages.
UserController.php
<?php

namespace App\Http\Controllers;

use Illuminate\Http\Request;
use App\User;

class UserController extends Controller
{

    public function create()
    {
        return view('users.create');
    }

    public function store(Request $request)
    {
        $request->validate([
            'name' => 'required',
            'email' => 'required|email',
            'g-recaptcha-response' => 'required|captcha',
        ]);

        User::create($request->all());

        return "Success";
    }
}
Step 6: Add Route
We need to add route for details view file.
Route::resource('users','UserController');
Step 7: Create Blade File
Now, create.blade.php file on this path resources\views\create.blade.php and add below html code.
create.blade.php
<html>
<head>
   <title>Recaptcha code example - meaningarticles.com</title>
   <link rel="stylesheet" href="https://maxcdn.bootstrapcdn.com/bootstrap/3.3.7/css/bootstrap.min.css">
   <script src="https://ajax.googleapis.com/ajax/libs/jquery/3.5.1/jquery.min.js"></script>

</head>
<body>

   <div class="container">

      <div class="row" style="margin-top: 10px;">
         <div class="col-lg-12 margin-tb">
            <div class="text-center">
               <h2>Create New User</h2>
            </div>
         </div>
      </div>

      @if ($errors->any())
      <div class="alert alert-danger">
         <strong>Error!</strong> <br>
         <ul>
            @foreach ($errors->all() as $error)
            <li>{{ $error }}</li>
            @endforeach
         </ul>
      </div>
      @endif

      <form action="{{ route('users.store') }}" method="POST">
         @csrf
         <div style="margin-left: 400px;">
            <div class="row">
               <div class="col-xs-12 col-sm-12 col-md-6">
                  <div class="form-group">
                     <strong>Name:</strong>
                     <input type="text" name="name" class="form-control" placeholder="Name">
                  </div>
               </div>
            </div>
            <div class="row">
               <div class="col-xs-12 col-sm-12 col-md-6">
                  <div class="form-group">
                     <strong>Email:</strong>
                     <input type="email" name="email" class="form-control" placeholder="Email">
                  </div>
               </div>
            </div>
            <div class="row">
               <div class="col-xs-12 col-sm-12 col-md-6">
                  <div class="form-group">
                     <strong>Recaptcha:</strong>
                     {!! NoCaptcha::renderJs() !!}
                     {!! NoCaptcha::display() !!}
                  </div>
               </div>
            </div>
            <div class="row">
               <div class="col-xs-12 col-sm-12 col-md-12 text-left">
                  <button type="submit" class="btn btn-primary">Submit</button>
               </div>
            </div>
         </div>
      </form>
   </div>
</body>
</html>
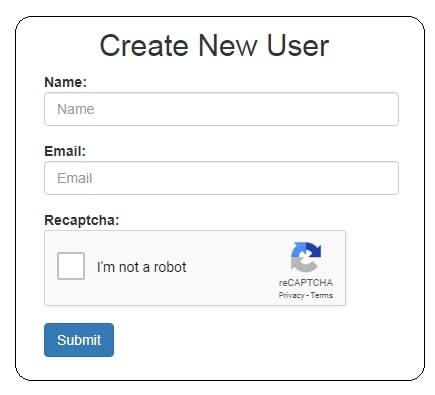
And finally you will get output like below screen print.
And if you will not enter any value in this box then you will get error messages.
I hope it assists you, thanks for visiting my article if you like my article then share it with your friends on the social media platform.
Happy Coding.....